The cdroms folder is where you copy the bin/cue dumps of Mac CDROMs you wish to use with the emulation. These should be standard MODE1 ISO dumps, not raw dumps. The extension for CDROM images are normally “.bin”, “.iso”, or “.img”.
The disks folder is where you copy floppy images you wish to use with the emulation. These are plain dumps of 1.44 MB high-density Mac or PC format microfloppy disks. PC format requires the appropriate Mac extension to read, such as MacLink (part of OS 8). All files in this folder should have an extension of “.dsk”.
The files folder is mounted on the Mac desktop when enabled in the settings. Files in this folder should be in AppleDouble, hqx, and binhex format.
The hardfiles folder contains the files that are used as fixed hard disks in the emulation. They can be virtually any size, but will generally be between 200 and 400 MB as a basic installation of OS8 takes about 120 MB. You can have any number of files in this directory, but only a maximum of four can be selected at one time. The extension of files in this folder should b “.hfv”, but may also have no extension at all.
The imaps folder holds the input maps for remapping the Vita buttons into Mac input events. This will be explained later.
The roms folder holds the Mac ROM images you might use with the emulation. You select one image in the emulation setup. They can have any file name, but a typical extension is “.rom”.
BasiliskII_prefs is a sample preferences file.
Note: No Apple Macintosh ROMs or software of any sort is included with this program. You'll have to find them yourself. This emulator is useless without a ROM and MacOS.
Controls ======== SELECT - Invoke the imap/floppy/cdrom menu
While in the imap/floppy/cdrom menu, you press up/down to change between input maps, floppies, and cdroms. Press left/right to browse the list of files in the imaps, disks, and cdroms directories, respectively. Press CROSS to select an input map, or mount a CD-ROM or floppy. Press SELECT again to exit the menu. Note that you can only have one cd-rom and floppy mounted at a time. To mount another, you must first dismount the CD-ROM/floppy which is already mounted. On the Mac, you dismount disks/cd-roms by throwing them in the trash, or by selecting the disk and then selecting Eject from the Special menu (or pressing the Command + E keys).
Default Controls ================ CROSS – mouse button SQUARE – enter key CIRCLE – command + w (Close Window) TRIANGLE – command + q (Quit Application) RTRIGGER – control key LTRIGGER – option key UP/DOWN/LEFT/RIGHT – corresponding cursor key ANALOG STICK – mouse
dpad_mouse Controls =================== CROSS – mouse button SQUARE – enter key CIRCLE – command + w (Close Window) TRIANGLE – command + q (Quit Application) RTRIGGER – control key LTRIGGER – move mouse faster UP/DOWN/LEFT/RIGHT – mouse ANALOG STICK – mouse
Lines starting with # are treated as comment lines and ignored,
Valid vita key values are (OR keys to combine):
0x0000 No key 0x0008 Start button. 0x0010 Up D-Pad button. 0x0020 Right D-Pad button. 0x0040 Down D-Pad button. 0x0080 Left D-Pad button. 0x0100 Left trigger. 0x0200 Right trigger. 0x1000 Triangle button. 0x2000 Circle button. 0x4000 Cross button. 0x8000 Square button.
See below for Basilisk II key codes
Example D-Pad Up = cursor up:
0x0010 0x0000 62 255 255 255
Example Triangle = command + q:
0x1000 0x0000 55 12 255 255
See imaps/default and imaps/dpad_mouse for further examples
Cross Connection v1.03 - обновление утилиты, которая позволяет использовать 2 способа для передачи файлов с ПК на консоль как в режиме FTP, так и в режиме USB одновременно.
The game now uses hardware (GPU) accelerated rendering powdered with vitaGL. This means that you’ll get better performance and superior image quality!!
Many graphics effects were added to the glQuake renderer.
VitaQuake now runs at native resolution which is 960×544 for a sharp and great-to-look-at image with a constant 60FPS framerate in most areas.
The Game Resolution, Depth of Field, Always Run settings were removed from the menus.
Fog Rendering, Dynamic Shadows, Dynamic Torch Lights settings were added to the menus.
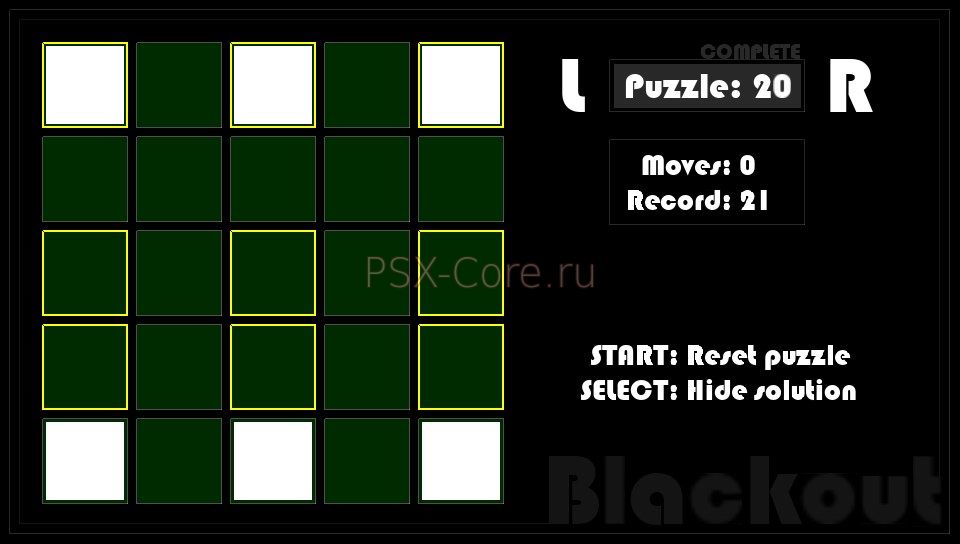
There are a total of 25 lights per puzzle Touch a light to toggle it and all adjacent lights ON/OFF When all 25 lights are OFF, the puzzle is completed 50 puzzles to choose from, with an unlockable solution per puzzle CONTROLS
TOUCH: Touch lights to alternate between ON/OFF states L & R: Choose current puzzle SELECT: Show/hide solution for puzzles that have been completed in less than 999 moves START: Reset the current puzzle
MISC
Blackout creates a 'config.ini' file upon first startup which is used to store settings; do not modify this file When "Show solution" is enabled, touch each outlined (in yellow) light once to complete the puzzle All assets for the game were custom-made using Gimp and Audacity
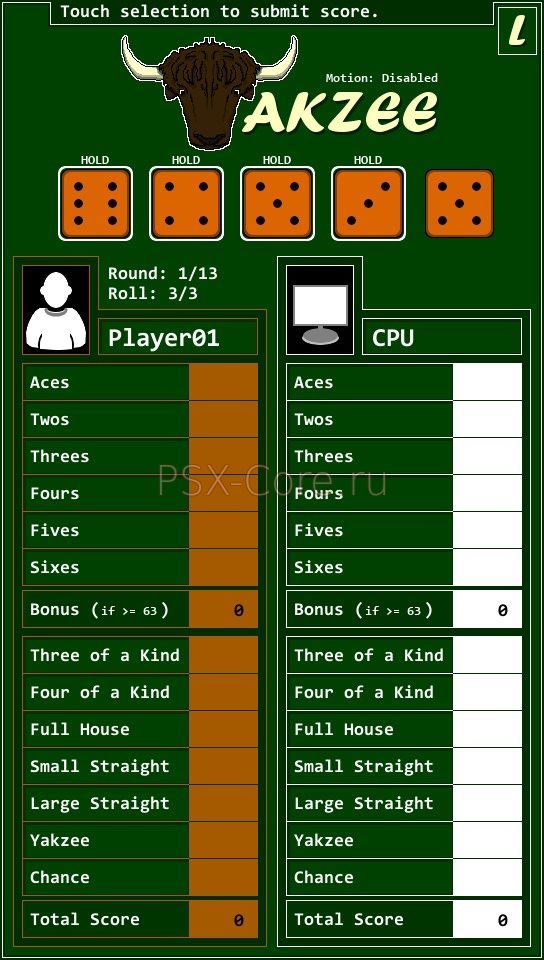
Three opponents to choose from: Another human (pass-and-play), CPU, or Ghost The "Ghost" opponent is a recording of your highest score while playing that mode Change the picture or name of any player by touching their respective picture Main player's records (wins, losses, and draws) are adjusted regardless of opponent chosen CONTROLS
SQUARE: Enable/disable motion controls When enabled, screen orientation changes automatically and a shaking gesture is required to roll When disabled, use Right Analog (LEFT/RIGHT) to change screen orientation L or R (hold/release), and shake gesture when motion controls are enabled: Roll dice TOUCH: Touch dice to hold if you want to roll a 2nd or 3rd time Touch/release open section on scorecard to submit score SELECT: Enter edit mode (adjust/change theme) D-PAD: Select color (RGB) or alpha (A) to edit, or choose current theme Left Analog LEFT/RIGHT: +/- 5 (0-255) Press SELECT when done to save theme changes
MISC
Yakzee creates a 'config.ini' file upon first startup which is used to store settings; do not modify this file
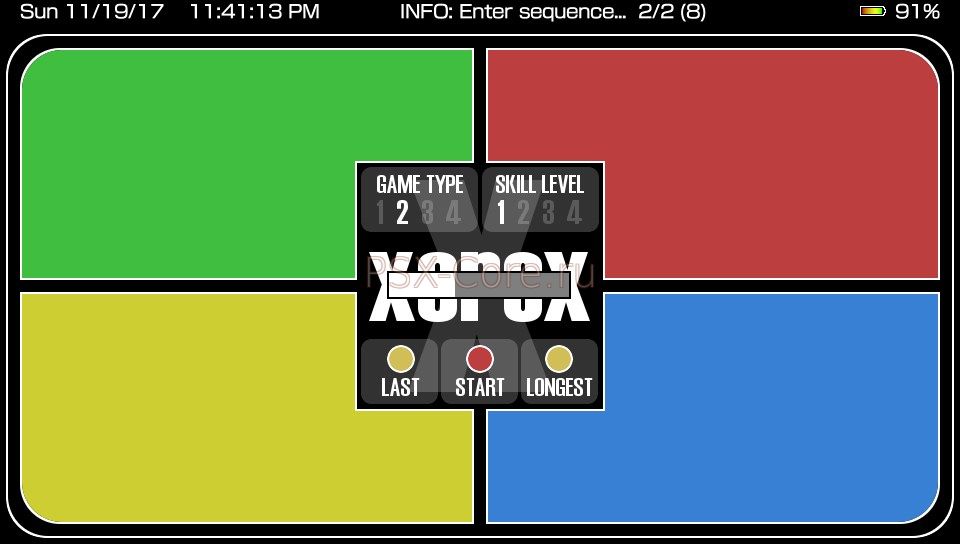
1: Signal order: Normal; Input order: Normal Plays sequence normally, and accepts input as shown
2: Signal order: Normal; Input order: Reverse Plays sequence normally, but the input order is in reverse
3: Signal order: Random; Input order: Normal Randomizes sequence each round, and accepts input as shown
4: Signal order: Random; Input order: Reverse Randomizes sequence each round, and the input order is in reverse
Examples: Game type 1: Signals shown are... Red, Red, Green, Blue; you press Red, Red, Green, Blue Game type 2: Signals shown are... Red, Red, Green, Blue; you press Blue, Green, Red, Red
SKILL LEVEL
1: Plays 8 signals (max) 2: Plays 14 signals (max) 3: Plays 20 signals (max) 4: Plays 31 signals (max)
OTHER BUTTONS
"Last" button will replay/demo the most recent sequence "Longest" button will replay/demo the longest sequence ever completed
MISC
Xerox creates a 'config.ini' file upon first startup which is used to store settings; do not modify this file Controls for Xerox are exclusively handled by touching the on-screen buttons All assets for the game were custom-made using Gimp and Audacity
Universal Menu Vita by Red-J - приложение с несколькими параметрами, которые могут служить основой для вашего проекта. Это не код LUA, а C и в основном использует библиотеку SDL2 (модифицированный, чтобы быть функциональным). Вы сможете установить все, что хотите: позиции изображения, текстовые позиции, шрифт записи, размер шрифта, звуковые эффекты, тексты, фоновую музыку, вводные изображения, фоновые изображения.
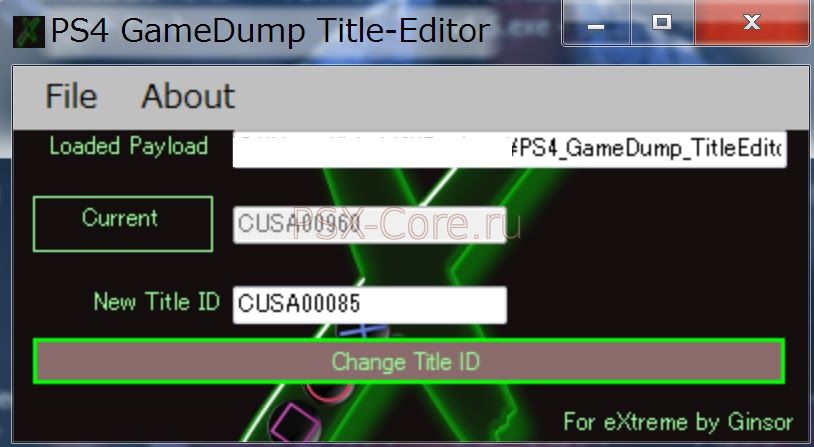
Загрузите и распакуйте архив GameDumpTitleChanger.rar на свой компьютер. Запустите приложение GameDumpTitleChanger, нажмите «File» -> «Open» и выберите пейлоад DumpFile405.bin. Идентификатор TitleID, заданный в пейлоаде (CUSA0000), должен теперь отображаться в текущем идентификаторе TitleID. В новом TitleID введите новый идентификатор (например, CUSA00085) и нажмите "Изменить идентификатор названия", чтобы применить изменения в пределах пейлоад.
Примечание: Чтобы узнать идентификатор, проверьте его через FTP-клиент, подключившись к PlayStation 4. TitleID будет по пути в каталоге /mnt/disk/app/.
Теперь отложите в сторону вновь созданный дамп, переименуйте его к примеру DumpGame_CUSA00085.bin для отличия. Если вы никогда не запускали игру с диска которую хотите сдампить, запустите, выйдите кнопкой PS затем запустите эксплойт с веб-браузера консоли до точки, в которой будет написано “waiting for payload”. Нажмите кнопку PS и снова запустите игру, дождитесь загрузки всех экранов. Теперь подключите USB-накопитель к USB-порту, ближайшему к дисководу, USB накопитель необходимо отформатировать в FAT32 или exFAT (рекомендуется). Внесите в корень USB пейлоад к примеру DumpGame_CUSA0085.bin, пока игра все еще запущена! После нескольких минут ожидания, вы должны получить расшифрованные файлы на USB накопителе! Как только дамп будет завершен, перезагрузите консоль и возьмите все файлы в sanbox через FTP-клиент (смотрите инструкции по FTP соединению). Теперь вы можете запустить игру, загруженную с помощью kernel exploit (смотрите инструкции по запуску эксплойта).